Trezor Login: How to Sign In to Your Trezor Wallet Safely
The Trezor login process is the gateway that connects your hardware wallet to Trezor Suite (desktop or web) and to supported third-party applications, and understanding Trezor login ensures you confirm device authenticity, protect your recovery seed, and approve every transaction on the device itself rather than on a remote host.
What the Trezor Login Actually Is
A Trezor login is not a conventional username/password event; it is the act of unlocking your Trezor device and establishing a trusted session with Trezor Suite or a dApp, where the device performs cryptographic operations locally. During a typical Trezor login, you unlock the device with a PIN, optionally enter a passphrase, and then approve actions on the device’s screen to maintain a secure separation between your keys and the connected computer.
Trezor Login During Initial Setup
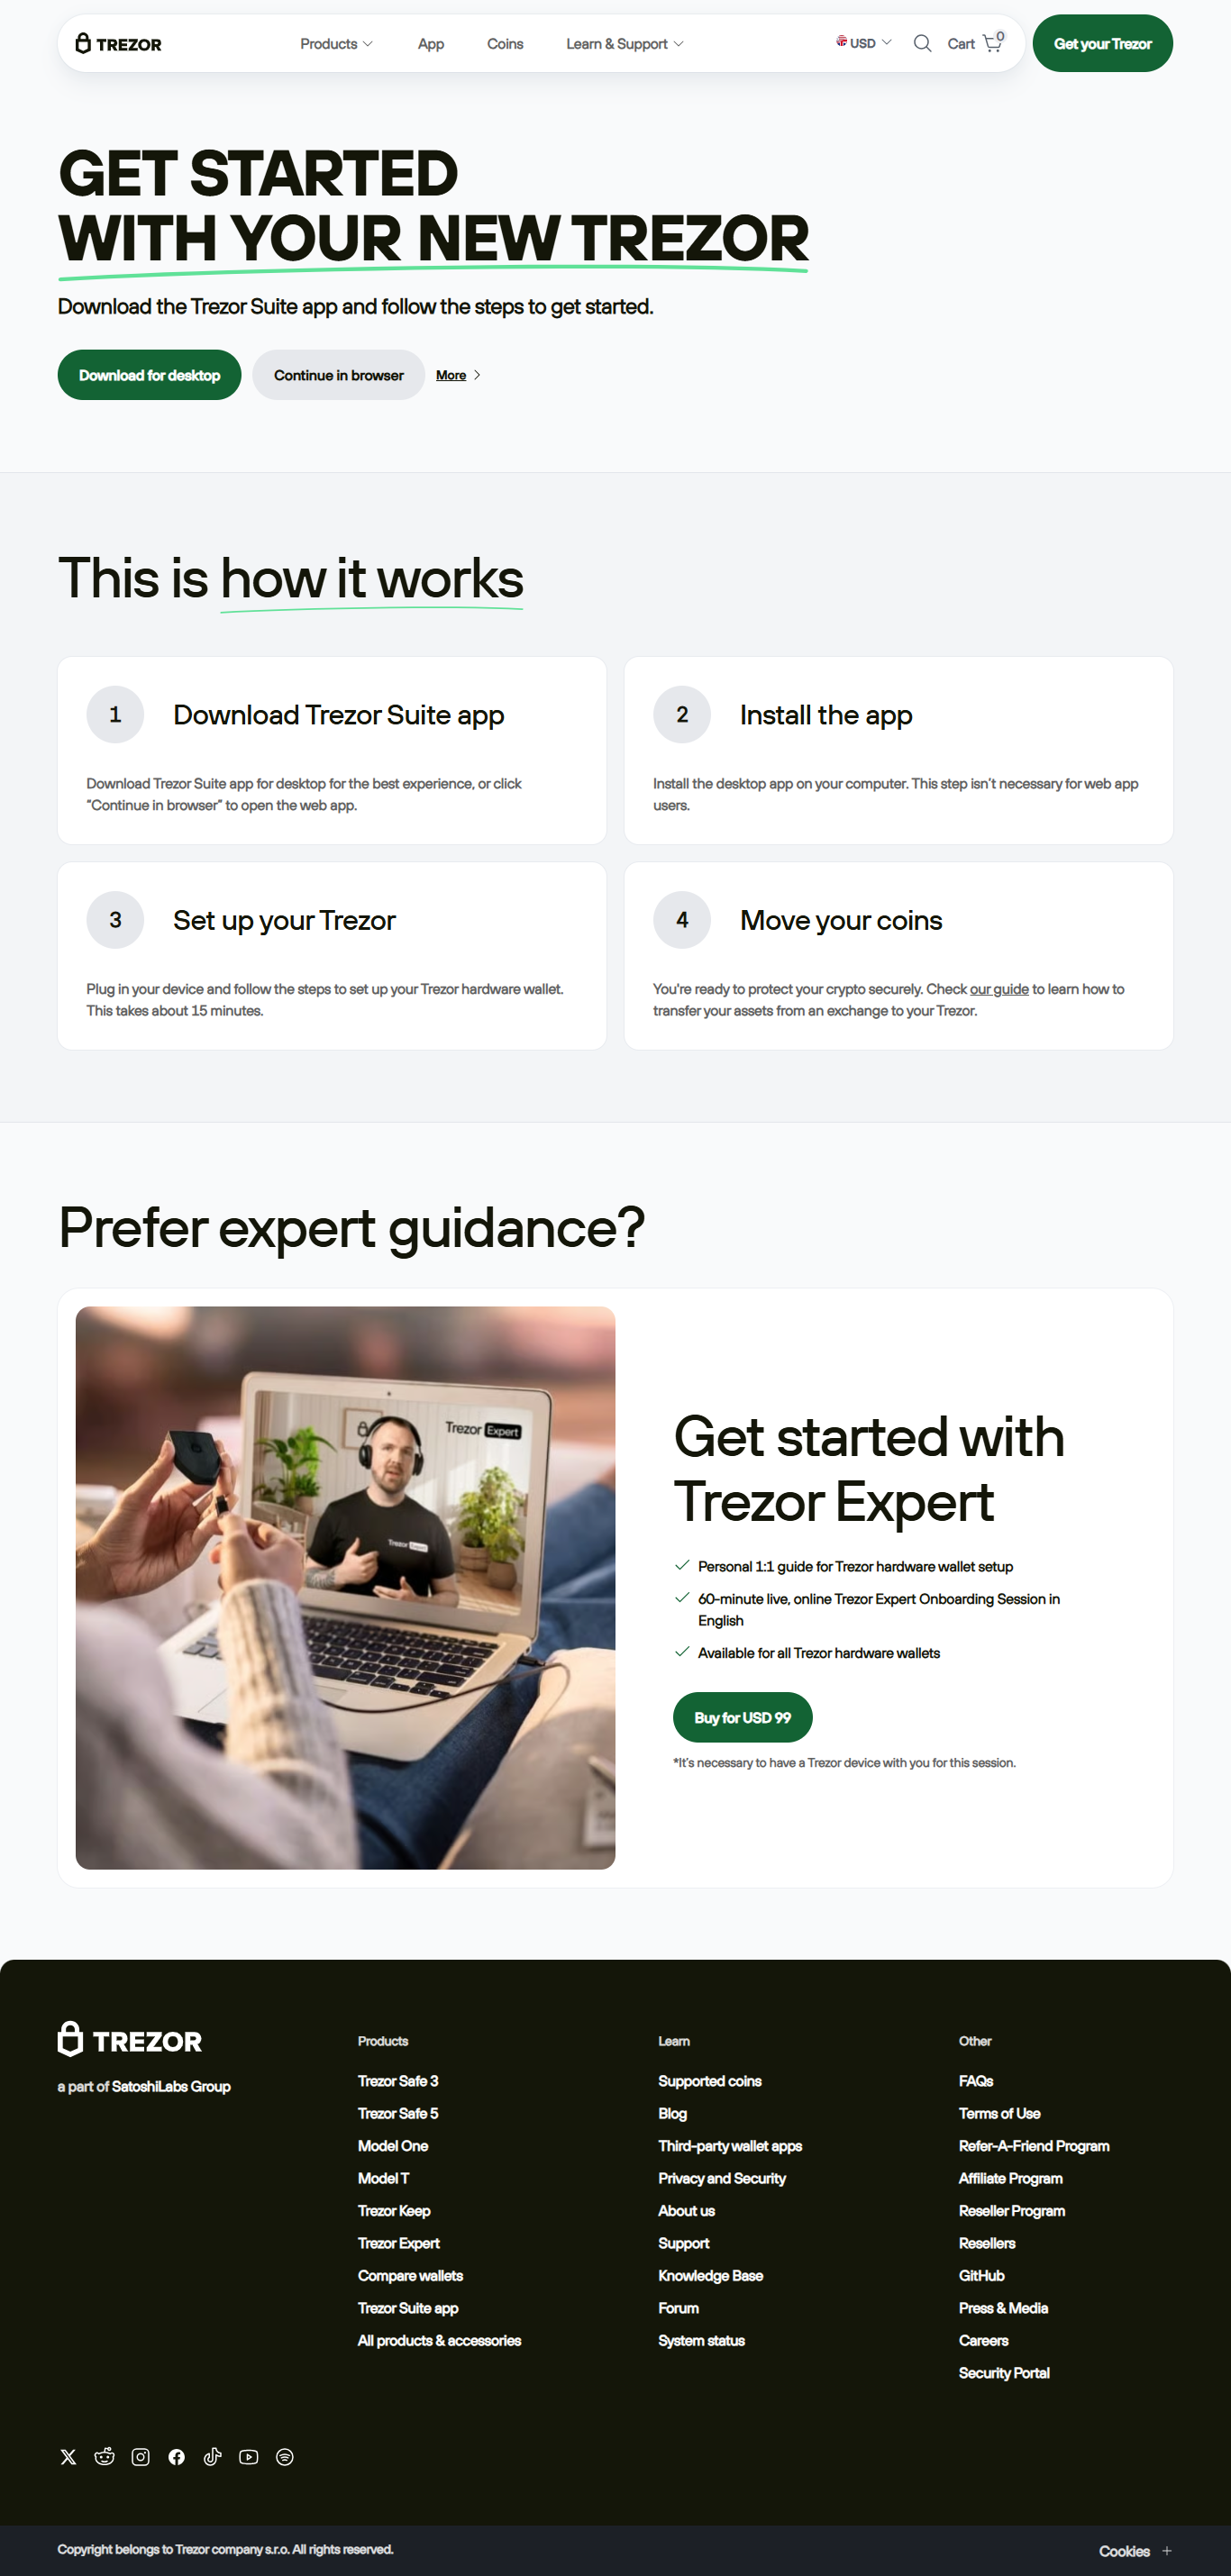
The first time you perform a Trezor login, you’ll typically follow the flow on trezor.io/start to download Trezor Suite, connect your device, and create a wallet; a fresh Trezor login during setup also includes generating a recovery seed on the device screen and setting a PIN, both of which are crucial steps that the login process guides you through to make future sign-ins secure.
How to Perform a Trezor Login
To complete a standard Trezor login, open Trezor Suite or the supported application, connect your Trezor via USB or USB-C, and enter your PIN on the device when prompted; after that initial Trezor login, the desktop app and the device create a secure interaction channel so you can view balances, request transactions, and confirm each action on the device screen itself.
Security Considerations for Trezor Login
A safe Trezor login practice centers on never entering your recovery seed on a computer and always verifying on-device prompts; when doing a Trezor login, confirm the address and amount shown on the hardware screen before approving, keep your PIN private, and treat the recovery seed as the sole offline backup that can restore access if a future Trezor login becomes impossible due to device loss.
Using Passphrase with Trezor Login
If you enable an optional passphrase, it becomes part of every Trezor login because the device will present a different set of accounts depending on the passphrase you enter; treat passphrases carefully, understand they act as an additional secret beyond your recovery seed, and remember that every Trezor login that uses a passphrase creates a distinct wallet instance.
Troubleshooting Trezor Login Problems
If a Trezor login fails because the device isn’t detected, check your cable and USB port, ensure the device is unlocked, and confirm you downloaded Trezor Suite from the official site; if firmware updates interrupt a Trezor login, follow the verified guidance in Trezor Suite or consult official support rather than relying on third-party advice.
Trezor Login for Mobile and dApp Connections
Mobile and dApp integrations rely on a secure Trezor login pattern: you connect the device (sometimes via QR or OTG), unlock it, and then approve connection requests and transactions on the hardware; maintaining discipline during every Trezor login by checking the device screen prevents accidental approvals and safeguards you from malicious sites.
Best Practices Around Trezor Login
Make a habit of initiating every session from the official trezor.io/start or Trezor Suite so your Trezor login begins with authenticated software, avoid performing a Trezor login on public or untrusted machines, and store your recovery seed in a secure, offline location to ensure that any future Trezor login can be recovered if needed.
Trezor Login in an Enterprise Context
Organizations using Trezor devices for custody should formalize Trezor login procedures, ensure multi-user policies for passphrase management, and audit every login and approval to meet compliance needs; in enterprise workflows, a disciplined Trezor login routine reduces operational risk and preserves accountability.
Final Notes on Trezor Login
The Trezor login is simple in practice but security-critical in consequence: by unlocking your device on the hardware screen, confirming all actions locally, protecting your PIN and recovery seed, and following official guidance from trezor.io/start and Trezor Suite, your Trezor login becomes the reliable, auditable entry point to managing crypto with strong custody guarantees.